Improving wireless camera connectivity involves several factors, including signal strength, network configuration, and interference reduction. Here are some effective steps:
1. Optimize Wi-Fi Signal Strength
- Position the Camera Properly: Ensure the camera is within range of the router and not obstructed by walls or objects.
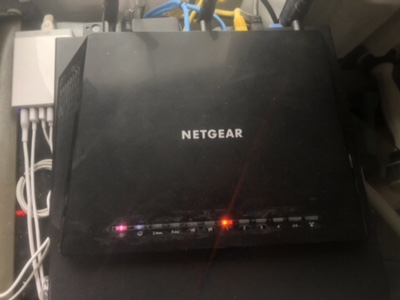
- Upgrade Your Router: Use a dual-band (2.4GHz & 5GHz) router for better connectivity.
- Adjust Router Placement: Position the router in a central location, elevated, and away from other electronic devices that can cause interference.
2. Reduce Interference
- Minimize Obstacles: Walls, furniture, and appliances (like microwaves) can weaken the signal.
- Change Wi-Fi Channel: Use a less congested channel in the router settings to avoid interference from neighboring networks.
- Avoid Electronic Interference: Keep the camera away from cordless phones, baby monitors, and other wireless devices.
3. Improve Network Configuration
- Use a Stronger Wi-Fi Band: If the camera supports 5GHz, use it for faster speeds; otherwise, 2.4GHz offers better range.
- Assign a Static IP: This prevents disconnections caused by DHCP address changes.
- Prioritize Camera Traffic (QoS Settings): Configure your router’s Quality of Service (QoS) settings to prioritize video streaming.
4. Upgrade Hardware
- Use Wi-Fi Extenders or Mesh Networks: If the signal is weak, Wi-Fi extenders or a mesh system can help cover dead zones.
- Install a More Powerful Antenna: If your router or camera has detachable antennas, consider upgrading to high-gain ones.
5. Update Firmware & Software
- Keep Camera Firmware Updated: Manufacturers often release updates that improve connectivity and performance.
- Update Router Firmware: Ensuring your router is up-to-date can enhance stability.
6. Consider Wired Options (as a Last Resort)
- Use Ethernet (if possible): Some cameras support Ethernet connections for more stable performance.
- Use Powerline Adapters: These use electrical wiring to extend network coverage.